
Introduction
Have you ever watched a prototype stall at the last quality gate and wondered what really slowed the line? In many of the runs I audit, an industrial SLA 3d printer sits at the center of that bottleneck — not because the idea was wrong, but because the setup and expectations were. I’ve spent over 18 years working on factory floors and in procurement offices across Shenzhen and Eindhoven, and I keep returning to the same trio: machine capability, material handling, and repeatable workflow. Data from a mid‑size contract manufacturer I worked with in March 2023 showed a 37% variation in first-pass yield between operators on identical parts. Why does that variation persist, and what practical steps do teams actually take to close it? The next section unpacks one of the quietest, most technical culprits — and offers a clearer field of view for managers preparing bids or spec sheets.
Why UV Lasers Often Hide Bigger Problems
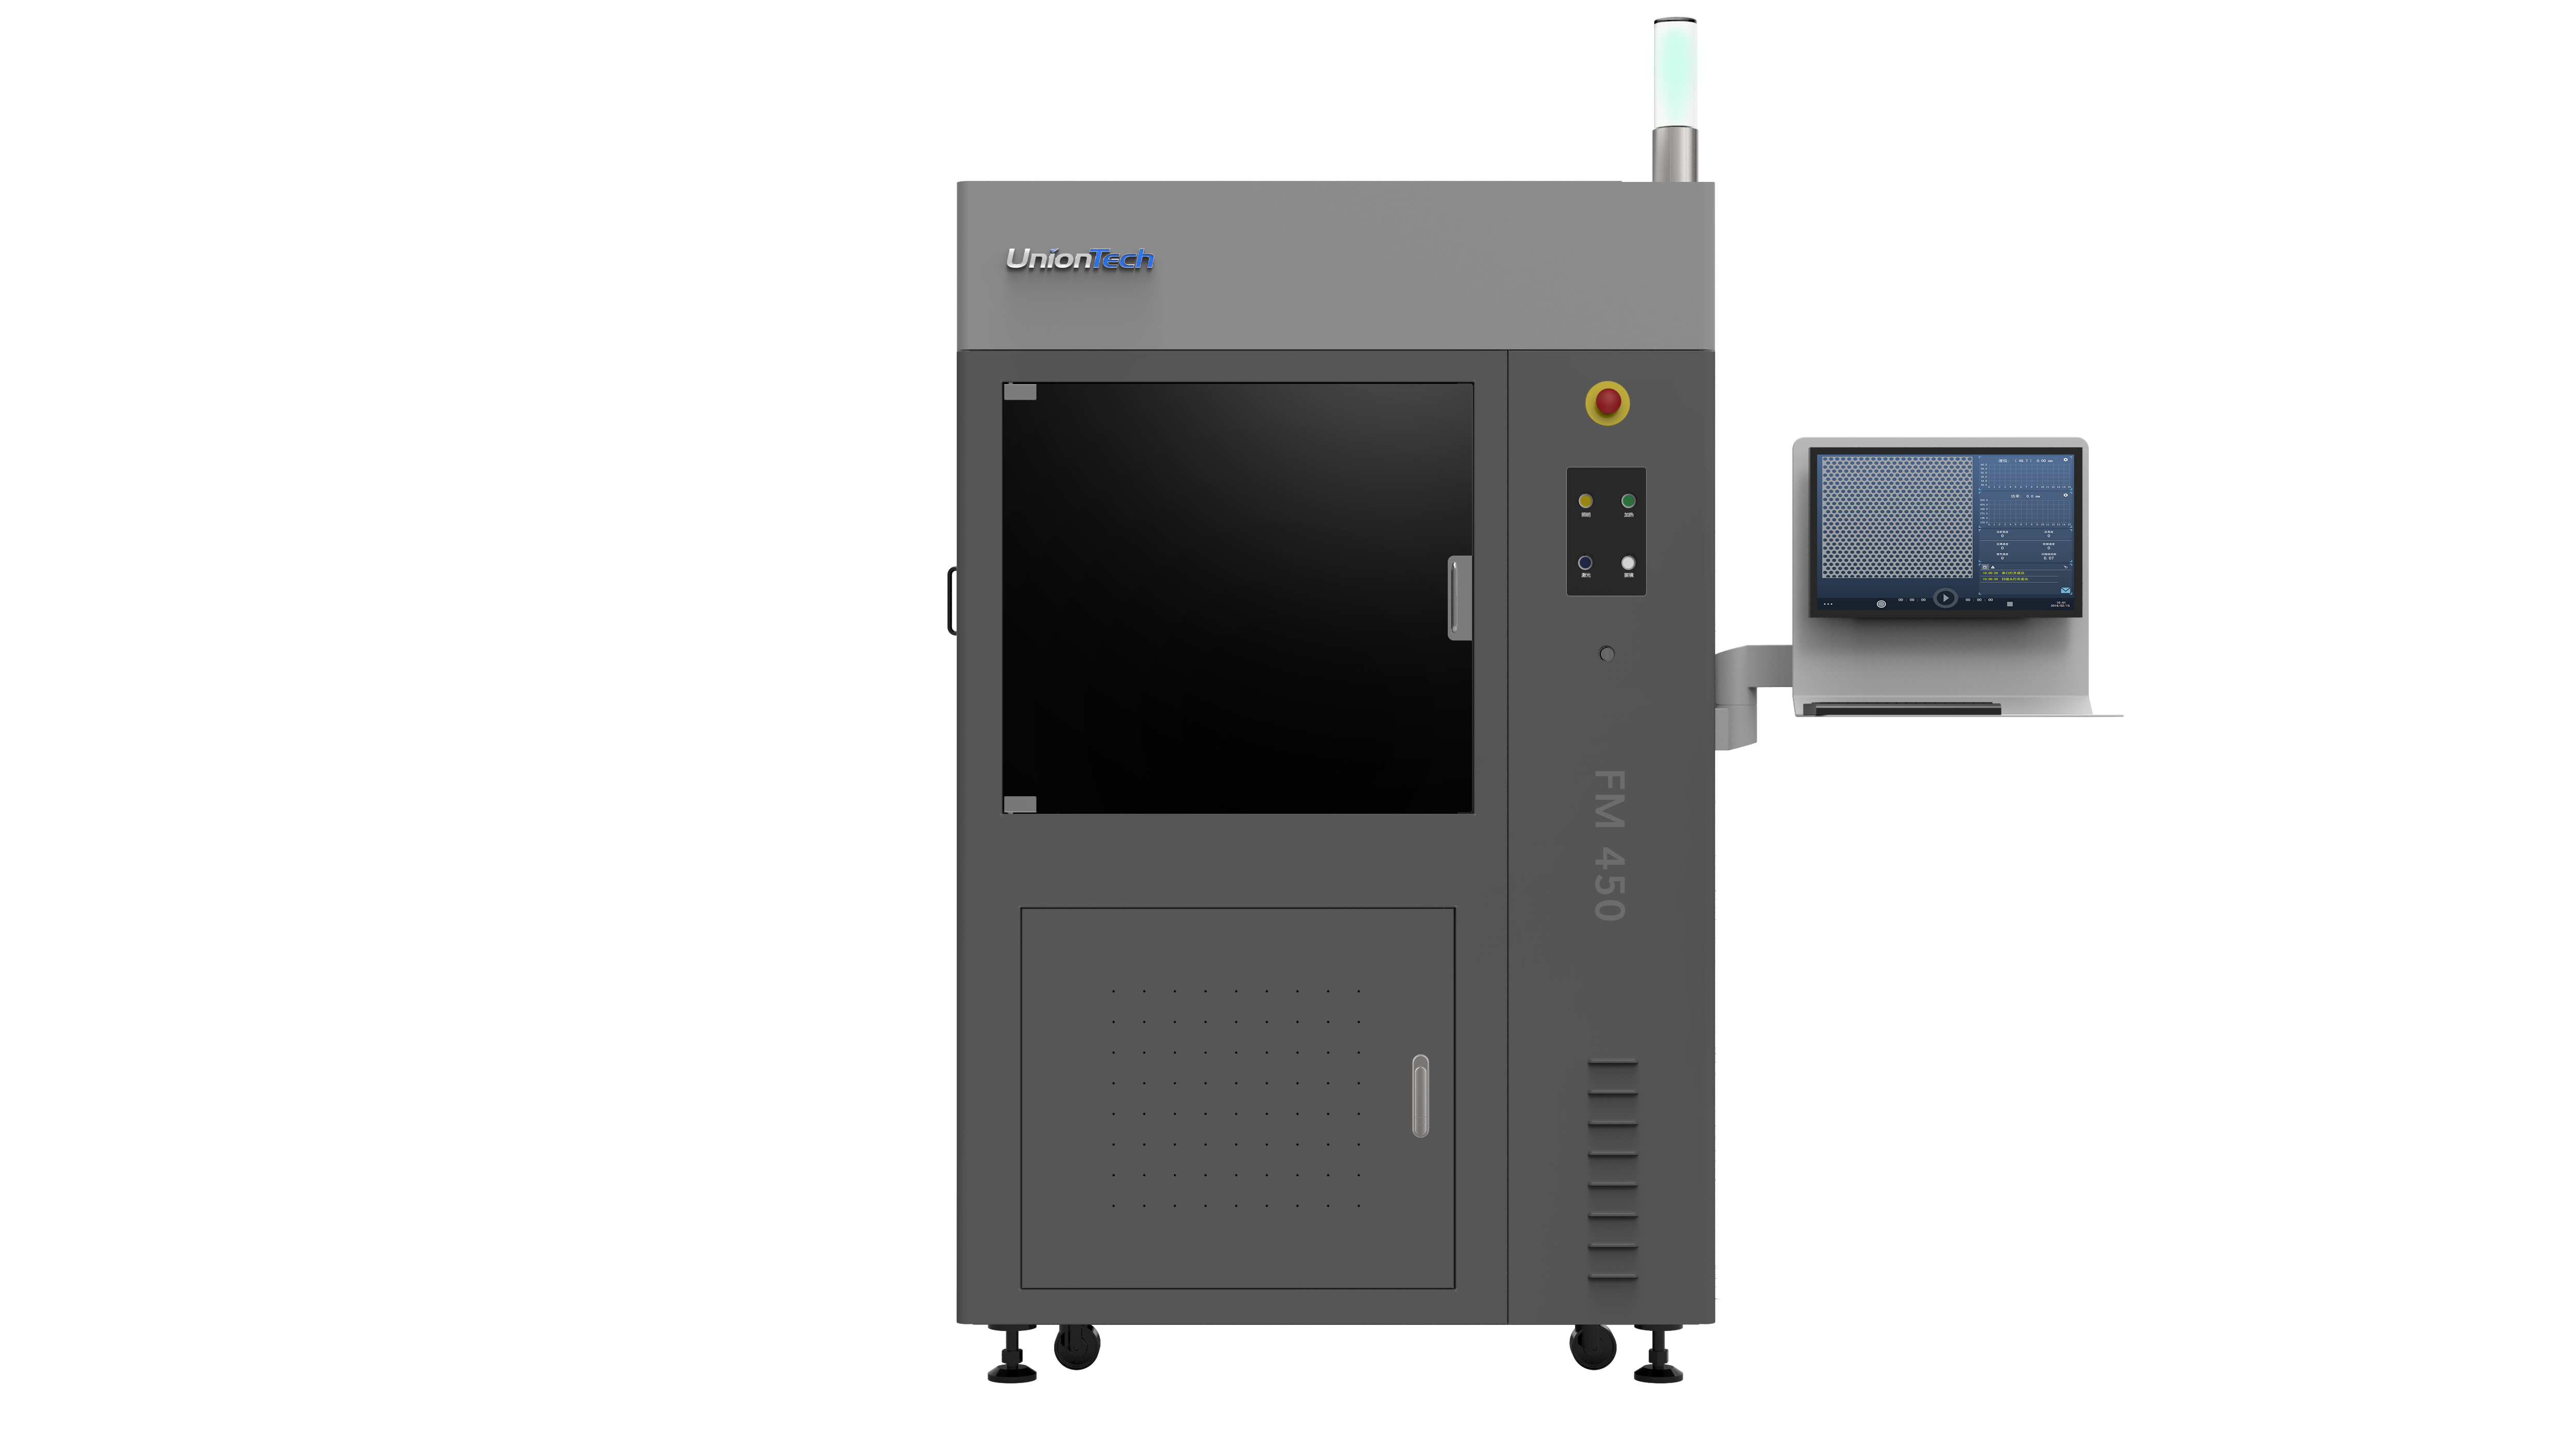
UV lasers get most of the spotlight in SLA marketing, but the reality on the floor is messier. The beam isn’t just a light source; it’s controlled by a laser galvanometer and paired with optics that age, and the resin chemistry reacts to tiny shifts in intensity. I’ll be blunt: a small drift in laser power or misalignment on the galvanometer can produce surface warps and thin spots that show up only after post-curing. In January 2022 I logged a run where a 2% drop in laser output produced a 9% increase in scrap for dental models — measurable, painful, and expensive. Operators blamed the resin viscosity at first, but the root cause was an aging optical path (lens micro‑fogs and a slightly loose mirror mount). Post-curing still matters; UV penetration changes with temperature and resin batch. That interplay — optics, resin, and post-curing — is where most hidden pain lives.
What technical checks are often missed?
Too many teams skip simple controls. Check the beam profile monthly. Log laser power at idle and during a typical exposure sequence. Track resin batch numbers and record ambient humidity near the build platform. I remember an instance in Dongguan where routine calibration was skipped during a shift change; over three shifts a single lot of gaskets failed, costing a client 18% rework on an assembly run. These are not exotic fixes — they are operational disciplines. And yes, maintenance schedules cost time. But the alternative is unpredictable yield and extra labor for support structures and manual touch-ups — the very labor you hoped the printer would save.
Case Example and Future Outlook: Large-Format Shifts and Practical Metrics
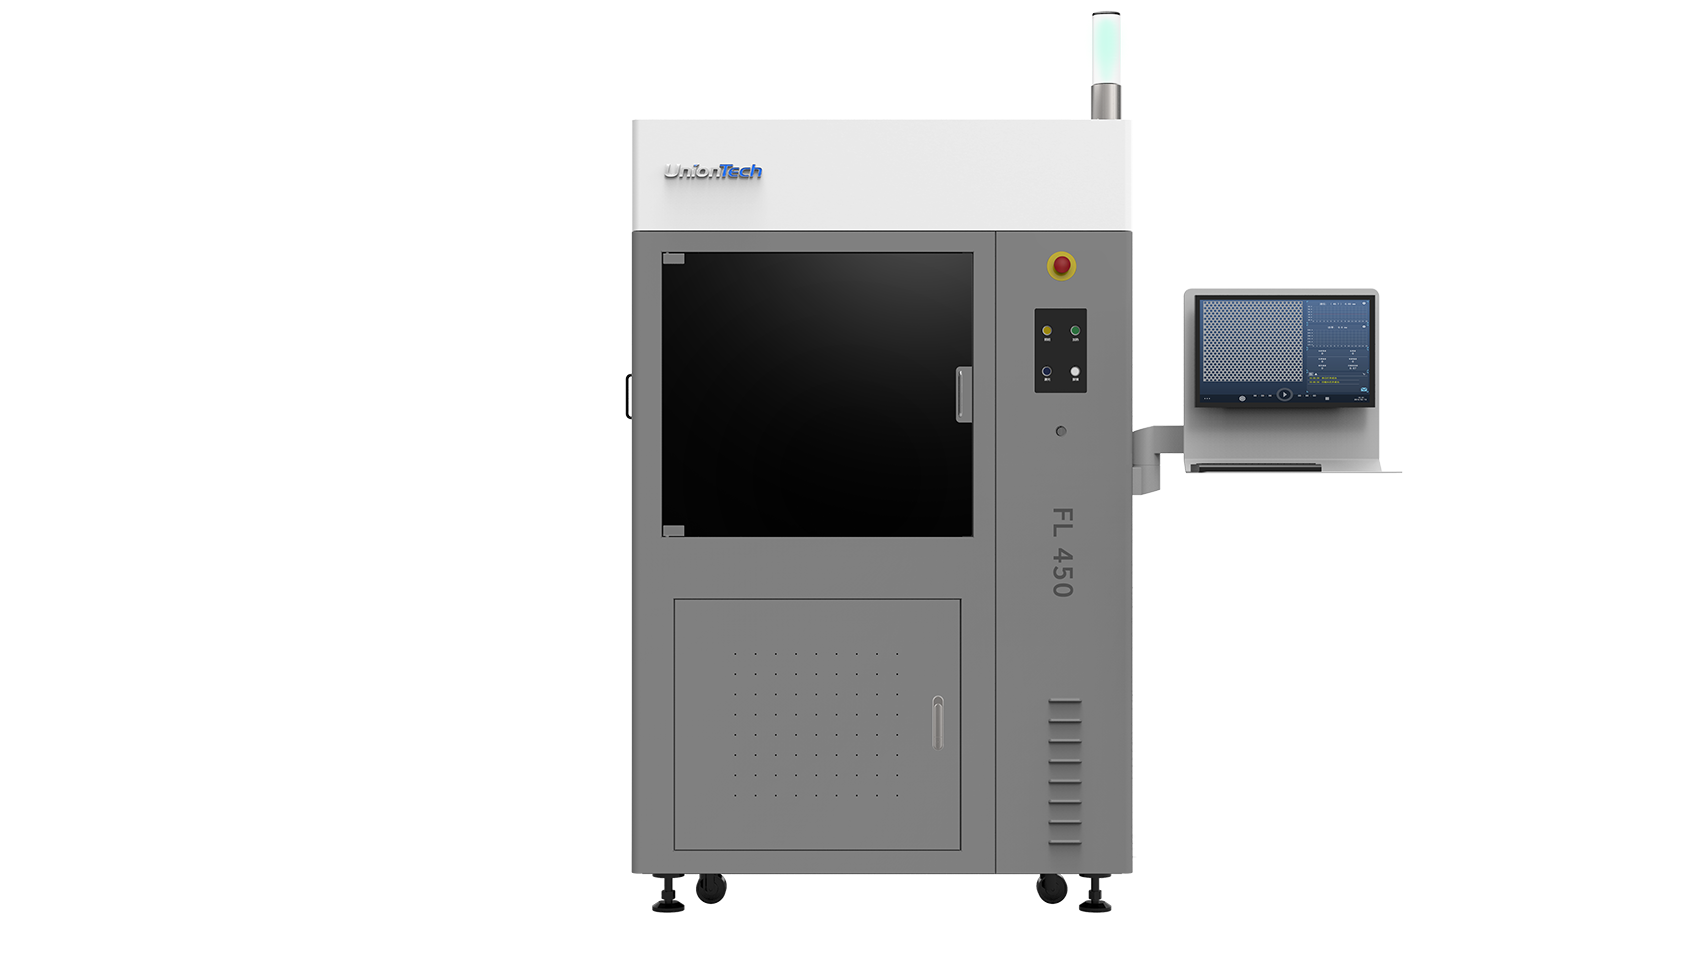
When teams ask me whether to scale up, I point to tangible cases. In March 2023 at our Shenzhen pilot line we replaced several desktop SLA units with a 600×600 mm build-volume large format industrial 3d printer. The result: lead time for prototypes dropped by 42% and per-part finishing time fell by 18% because fewer support structures were needed per part. The lesson was not that the big machine was magical — it was that fewer parts per build and consistent laser optics reduced handling and the variability caused by small-batch resin mixing. The case also exposed supply issues; we had to vet a new batch of photopolymer resin from a different supplier in April 2023 and found a 5‑second cure-time shift at 405 nm, which changed the exposure window. That change required a small tweak to the print profiles — measurable, quick, and essential.
What’s Next — practical evaluation metrics
For procurement and production leads, I recommend three practical metrics to evaluate SLA solutions: 1) Effective Throughput per Shift — measure finished, inspection‑passed parts per operator shift after post-curing; 2) Process Drift Window — log how often you adjust laser power or exposure per 100 prints; and 3) Post‑Processing Labor Hours per Part — track the time for support removal and final inspection. If you can quantify those three, you can compare vendors on real economics, not brochure claims. I prefer clear, time‑boxed trials (two-week, single-part family runs) conducted on the actual floor — not in a demo room. Do not assume identical polymer batches; label them and include lot numbers in the test log. — sometimes the smallest detail gives the biggest clue.
I write from the perspective of someone who has scheduled preventive optics cleanings at 6 a.m. and negotiated resin returns after a failed ISO test. I firmly believe that disciplined sampling and short, instrumented trials beat grand promises. If you want a vendor who documents change logs and offers clear calibration protocols, there are reliable choices in the market — and for reference, I’ve leaned on machines and service from UnionTech in projects where build stability mattered and the outcomes were contractually important. Use the metrics above and you will see the real difference in cost, time, and predictability.
