
Introduction — a lab moment, some numbers, one question
I was once that person crouched over a bench, tape measure in hand, trying to line up an animal headframe while the clock ticked. A single misread on the coordinate system could cost me an hour — or worse, an entire trial. In labs like mine, automated stereotaxic Instrument systems now claim up to 60% faster setup and sub-millimeter positioning accuracy on paper, but do they really save time where it matters? (Short answer: sometimes — and sometimes not.)
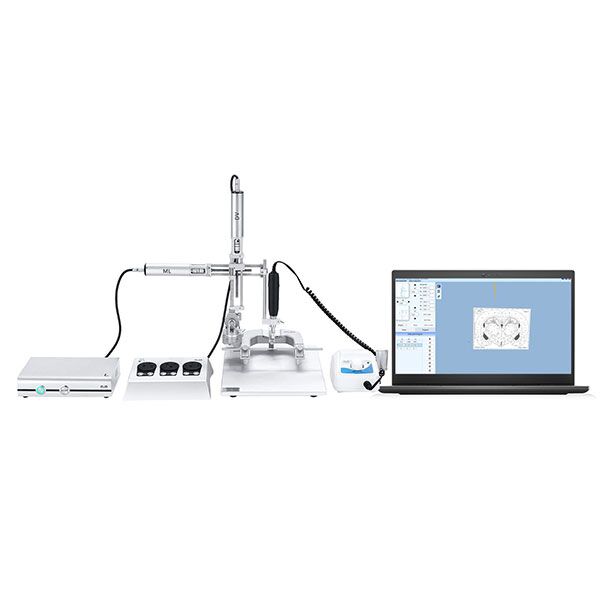
Here I’ll share what I’ve learned from running dozens of surgeries and hundreds of insertions: the good bits, the hidden catches, and simple tweaks that helped me and my team cut wasted minutes every day. I’ll use plain talk — no fluff — and flag a few tech terms like stereotaxic frame, micro-manipulator, and servo motors so you know what I mean. Let’s get into what actually changes when you add automation to the bench.
Why the old ways stumble (and where automation really helps)
stereotaxic instrument users often tell me the same story: manual rigs worked well enough for basic tasks, but they break down under scale or precision demands. I’ve seen it — repeated manual alignment errors, drift from repeated handling, and slow adjustments when switching targets. These are not glamorous problems, but they’re real. Look, it’s simpler than you think: a worn screw, an off-center bite bar, or a sloppy datum can add minutes or create a systematic bias that ruins a dataset.
What’s causing the most grief?
From my perspective, three flaws stand out. First, human-dependent repeatability: manual micro-manipulator moves look fine but vary session to session. Second, awkward coordinate transforms: translating atlas coordinates into a physical setup is error-prone. Third, throughput bottlenecks: swapping holders, re-zeroing, and double-checking everything eats cumulative time. I’ve used neuro-navigation software and optical encoders to fix parts of this — and servo motors plus calibrated fiducials to reduce drift — but those fixes bring new needs (training, upkeep). — funny how that works, right?
Looking ahead: principles and metrics for smarter setups
When I think about the next wave of tools for stereotaxy, I focus on practical principles more than buzz. A good automated system should: make coordinate transforms trivial, keep repeatability tight across sessions, and reduce user steps for common tasks. In practice that means better user interfaces, automated fiducial detection, and robust position feedback. For example, newer units integrate closed-loop encoders and simple software wizards that cut decision points — so the operator does less fiddling and more science.
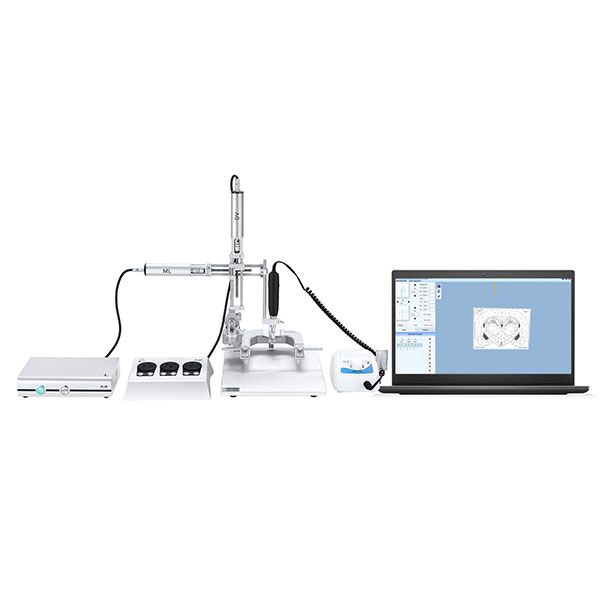
What to measure when choosing a system
Here are three metrics I recommend you demand before you buy: 1) True positioning accuracy (report both mean error and variance), 2) Time-to-target for a standard protocol (start to probe), and 3) Maintenance overhead (how often you must recalibrate or replace parts). If you score a candidate on those, you’ll see differences that matter. I’ve run side-by-side trials where two rigs claimed similar specs but one saved our lab ten minutes per subject — that’s large over weeks. — and yes, small gains add up fast.
Summing up, automation can be a real productivity win if you focus on the right design points and keep an eye on hidden costs. I’m careful to test systems in real workflows — not just the spec sheet — and I recommend you do the same. For hands-on equipment and proven units, I often point colleagues toward suppliers who publish clear metrics and offer solid support. If you want one name to start with, check out BPLabLine for detailed product pages and calibration guides.
