
Introduction: a late-night bench, a stubborn signal, and a question
I was at the bench past midnight once, coffee gone cold and a trace that wouldn’t behave — a small scene you’ll know if you do this work. In neuro research, that single misbehaving trace can mean wasted animals, lost time and a paper delayed by months. The stats are blunt: labs report day-to-day downtime and protocol drift that shave 10–20% off productive hours (and that hurts grant timelines). Why do the best-laid experiments stumble on things we call routine? – It’s a simple question but a knotty one, and one I want to pick at with you.
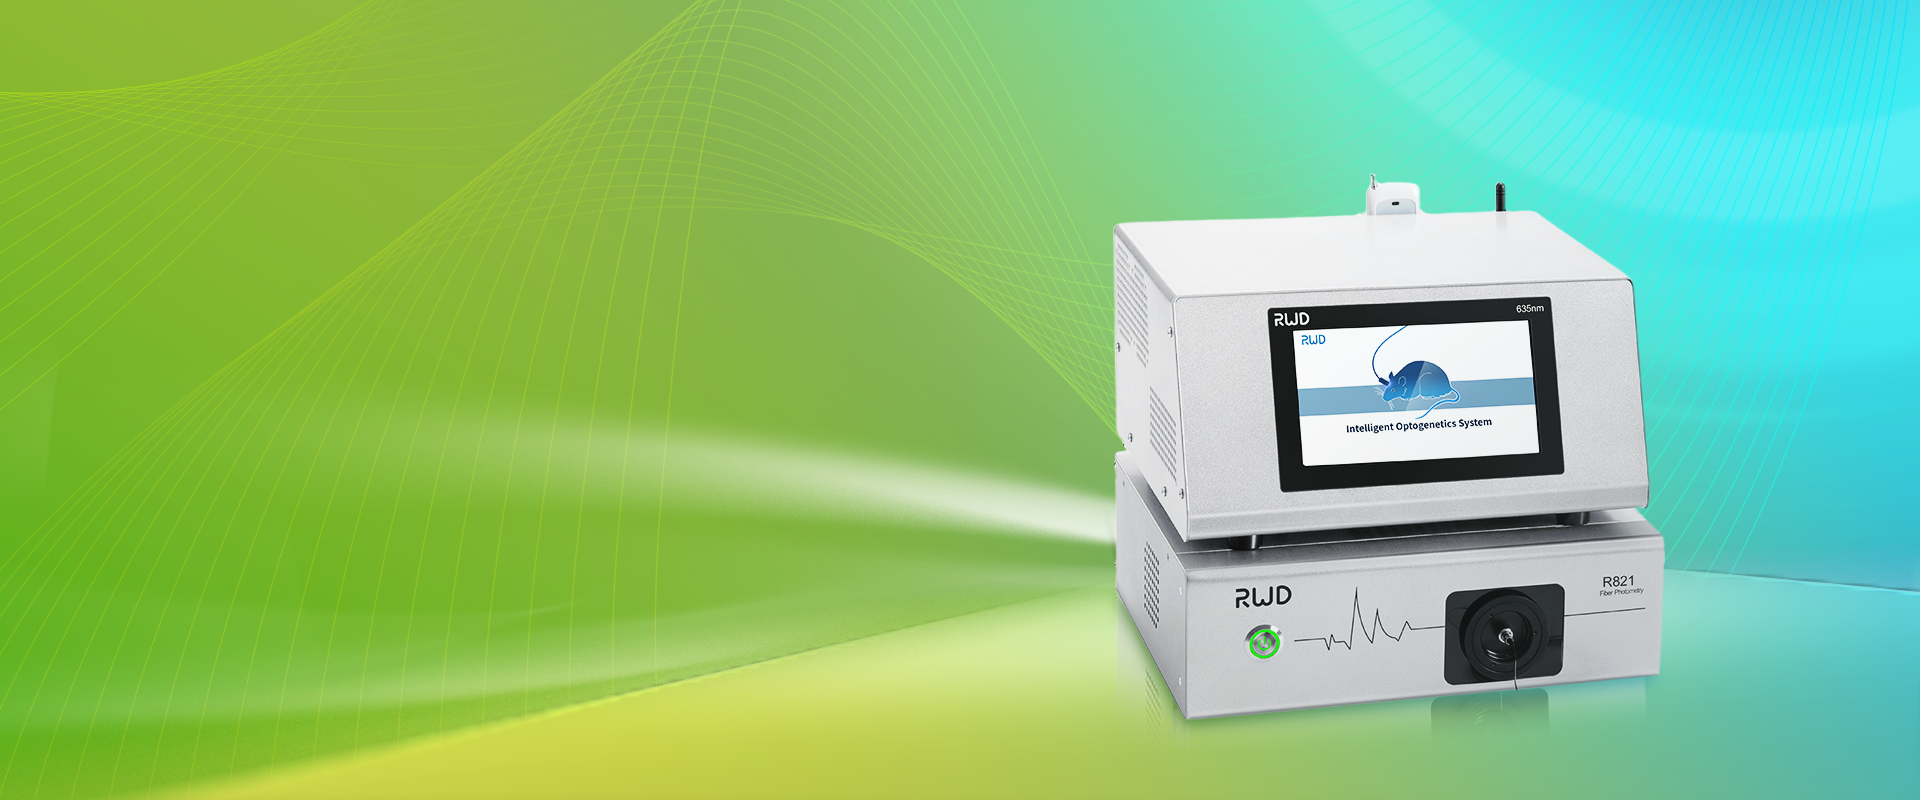
I speak as someone who’s spent years juggling electrophysiology rigs, optic fibre mounts and flaky connectors; I’ve learned to be suspicious of easy fixes. There’s always a human cause tucked behind a failed run — a connector not seated, a ground loop, or a firmware quirk. Add a dash of lab pressure and the result is messy. (Grand, isn’t it?) So let’s step through what really breaks down in our setups and what I’ve found helps most. Next, I’ll break open the tech and the habits that trip us up.
Part 1 — Where traditional solutions fall short for neuroscience instruments
Let me start with a definition: by “traditional solutions” I mean the usual quick patches—taped cables, ad hoc grounding, legacy acquisition software and last-century amplifiers. These are band-aids. They hide problems rather than remove them. When I talk about neuroscience instruments, I’m thinking of systems that must deliver clean signals: low-noise amplifiers, precise timing, and reliable data acquisition. Yet many labs accept poor signal-to-noise ratio as normal. That acceptance costs reproducibility and morale.
Why do these fixes fail?
First, the root causes are often electrical or procedural and not visible until you dig: grounding loops, poor cable shielding, or mismatched impedance on microelectrodes. Second, there’s a human element—rushing to set up, skipping calibration, or using mismatched components because “they fit.” I’ve seen excellent teams get tripped by a single faulty connector. Look, it’s simpler than you think: small hardware mismatches compound into big data errors. Third, legacy software and clipboard note-taking mean troubleshooting trails go cold. You lose context. You lose time.
Part 2 — A future-focused look: examples, principles and what to try next
Now, let’s be forward-looking. I want to share a short case example that I’ve used with our group. We had a chronic recording rig that dropped channels intermittently. The old approach was to swap amplifiers or blame the probe. Instead, we mapped the failure mode: cable flex at a strain point and a subtle ground offset. We replaced the cable with a properly shielded assembly, added a floating ground reference and updated the acquisition settings. Result: stable recordings for weeks. The lesson? Small, targeted changes often outmatch wholesale replacement.
Looking ahead, there are clear principles that matter for modern neuroscience instruments. Standardise connectors, invest in decent shielding, and document every change. Consider modular systems that allow hot-swapping of modules without breaking calibration. I’m biased — I prefer solutions that let you test, fail, and iterate quickly. — funny how that works, right? These steps reduce time wasted on firefighting and free you to do the actual science.
Real-world impact?
When teams adopt these principles, the gains are measurable: fewer failed runs, higher usable data yield, and cleaner signal traces. But it’s not all hardware — training and checklists matter. We introduced short, ritualised pre-run checks and saw a steep decline in day-one failures. I recommend combining technical fixes with behavioural changes. That combination pays back quickly in saved hours and better morale.
Closing: three metrics I use to judge a solution — and a small plea
Before I go, here are three practical metrics I use when evaluating any change to our setup. First: uptime — what fraction of scheduled recording hours are actually productive? Second: signal fidelity — check the signal-to-noise ratio and drift over time. Third: reproducibility — can another operator get the same quality using your written steps? I don’t accept vague improvements; I want numbers. These metrics keep us honest and let us compare options fairly.
I’ll be frank: replacing gear feels satisfying, but it’s often not the most cost-effective move. Tune the basics first, document everything, and measure the gains. If you do that, you’ll save money and headache. We’ve seen labs double their usable datasets without buying a single new amplifier. I write this from hard-won experience and a little impatience — because I want your experiments to run and your evenings free. For practical tools and components that can help you get there, check vendors who specialise in robust, lab-ready gear. You might start with the collections at BPLabLine.
