
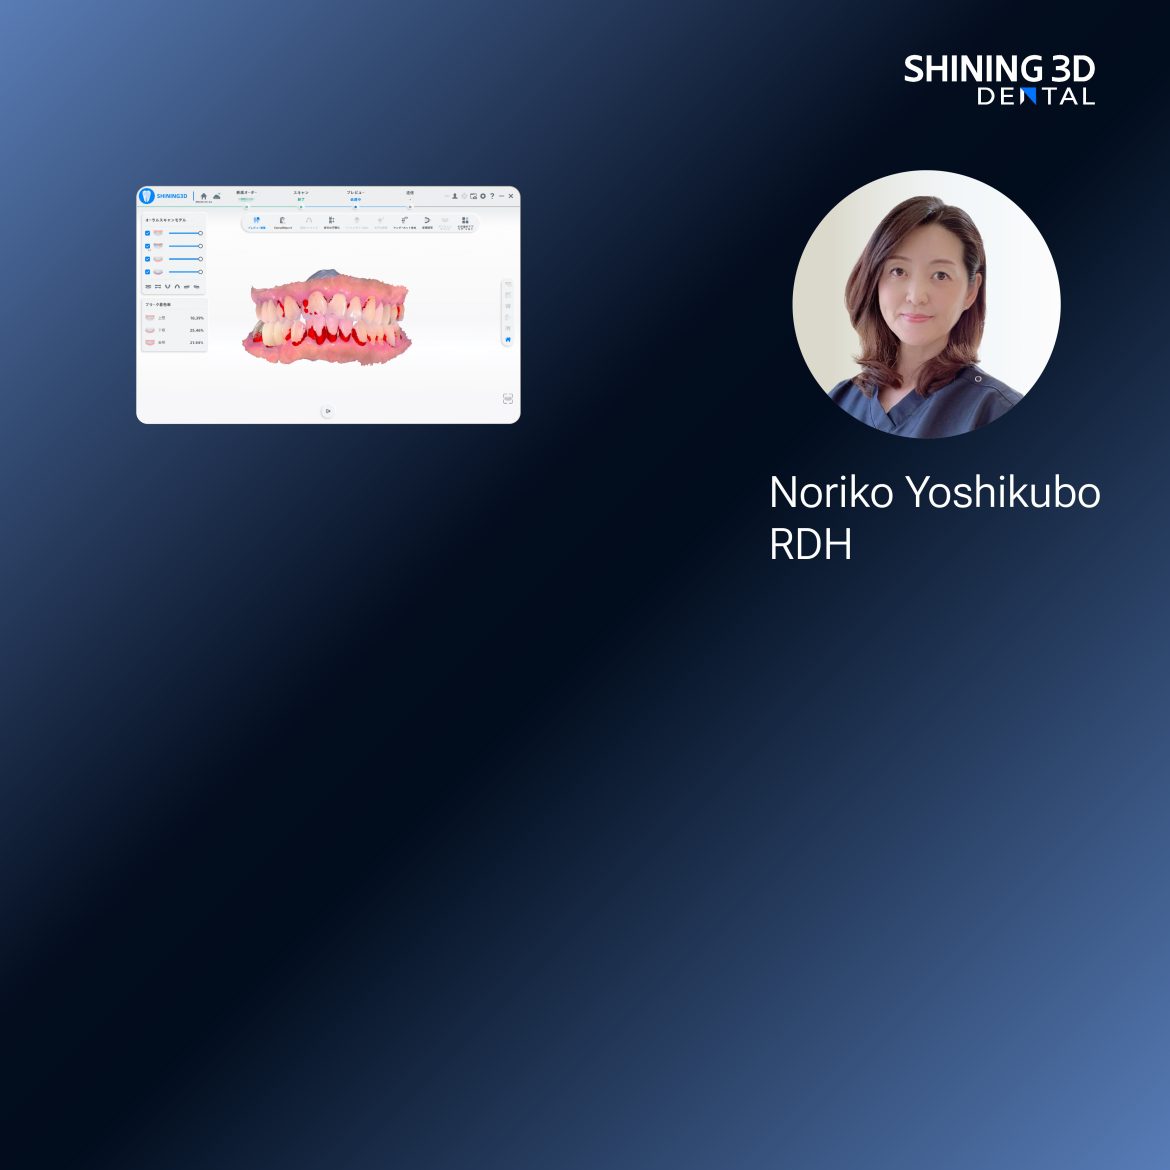
The problem that quietly ruins a chairside day
The scan looks fine on the screen, then the crown print fractures mid-job and the patient waits—again. Clinics expect predictable outcomes; they don’t get them when lighting blinds the scanner, when the subject shifts by a millimeter, or when a corrupt mesh sneaks into the workflow. I’ve watched teams lose hours to avoidable errors, even as new hardware promises speed. When IDS Cologne showcased faster chairside demonstrations and vendors highlighted same-day printing, the gap between promise and practice became obvious: hardware helps, but process wins. Early on I learned the same hard lesson every technician learns—good gear alone won’t save a bad capture. That’s why a dental resin 3d printer sitting idle is evidence of a broken upstream routine, not a failed press.
Why lighting and positioning sabotage scans
Light tells the scanner what to believe. Too harsh and you get blown highlights; too dim and the surface detail vanishes. The face is a landscape of reflective planes and soft curves; stray LED reflections and overhead fluorescents create false topography. Positioning is just as brutal. A tilt of five degrees shifts occlusal relationships. Patients breathe, speak, laugh—micro-movement accumulates into holes and misalignments. The fix is simple and surgical: control light sources, use polarized filters when reflections matter, and set stable headrests with minimal occlusal loading. Quiet, deliberate setup beats frantic rescans.

File management: where small slips cause big losses
Files fail in boring ways: wrong export settings, mixed units, duplicated meshes, and overwritten versions. A binary STL exported with flipped normals can print—but it prints a disaster. I coach teams to treat every capture as a legal document: tag it by patient ID, side, date-time, and scanner model. Use canonical naming, lock original exports, and keep an audit folder for processed meshes. Always check normals, apply a light decimation only when needed, and export in the format your lab expects. These rules stop simple mistakes from turning into repeat visits.
Common pitfalls and practical remedies
You’ll see the same mistakes across clinics. They’re avoidable. Pitfall: ambient light from windows creates specular highlights. Remedy: close blinds, add diffuse side lights. Pitfall: patient chin down for comfort; result: occlusal distortion. Remedy: standardize a headrest height and train assistants to verify alignment before capture. Pitfall: heavy post-process smoothing to “clean up” scans; result: lost anatomy. Remedy: limit smoothing, preserve mesh fidelity for the lab. Pitfall: single-file backups. Remedy: keep original plus one working copy and timestamped versions. These fixes take minutes to adopt and save hours later.
Alternatives and when to use them
Handheld photogrammetry is forgiving on lighting but slow and data-heavy. Structured-light scanners are fast but picky about reflections. Intraoral scanners deliver texture and color for restorations but miss full-face context. Choose by outcome: for precise facial prosthetics, prioritize multi-angle structured-light captures with controlled studio lighting. For quick intraoral restorations tied to chairside printing, trust intraoral capture plus a reliable export pipeline. If you need both, merge datasets—accept that merging requires consistent references and careful registration.
Workflow that survives a busy clinic
Start with a checklist: lighting fixed, headrest set, patient briefed. Capture in tiers: quick verification pass, detailed targeted pass, and a short motion-check pass. Immediately export originals and a checked mesh; don’t touch the original file. Validate normals and scale, then push the working mesh to your design software. Queue prints only after a final mesh inspection. This routine keeps the printer busy and the day moving, every time.
Final synthesis
Problems repeat because processes aren’t explicit. Fix the light, lock the position, manage the files, and the rest aligns. Practical, repeatable steps—practices honed across years with restorative teams—turn an occasional success into routine predictability. Put those steps into your daily workflow and the equipment will do its part; the workflow will do the rest, just as reliable outcomes emerge from disciplined capture and clear file control at clinics using solutions from SHINING 3D DENTAL.
